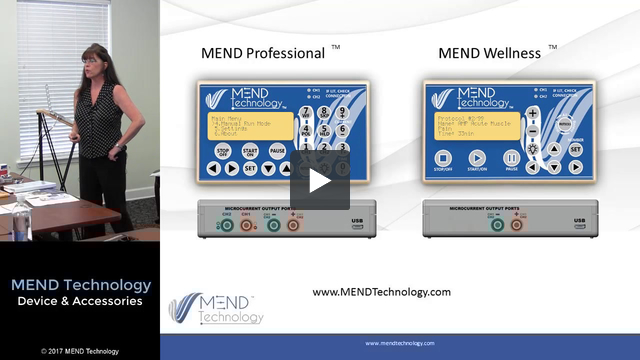
MEND Technology Tutorials
Whether you are a new or an existing user, our documentation and video tutorials are here to help you get the most out of MEND devices and Inspirstar Profile Editor. Let’s get started.
MEND Technology Tutorials
Whether you are a new or an existing user, our documentation and video tutorials are here to help you get the most out of MEND devices and Inspirstar Profile Editor. Let’s get started.
Getting Started with the Profile Editor
0: Introduction
1: What is the difference between a protocol and profile?
2: Saving Your Preloaded Protocols to Your Computer
3: Creating a Protocol
4: Adding Protocols and Transferring to the MEND Device
5. How do I use batch mode on my Wellness device?
6. Printing the Summary Sheet and Frequencies”
Installing the “Write Only” Software.
This software only allows you to “download” the protocols onto your device.
TIMESTAMP
00:00 – Introduction
00:40 – System requirements
01:04 – Installing the software
01:28 – Sending in the Installation Code
01:55 – Activating the Software
02:16 – IS02 Folder Created
02:30 The Write Only Interface
03:10 – Getting your Profile via email
03:25 – Attaching the device to the computer
03:33 – Loading the Profile
03:52 – Printing the summary sheet
How do I download a protocol onto the device?
How do I save the Protocols that were Pre-loaded on the device?
How do I save a Profile?
How can I merge multiple protocols together to make one long protocol?
To merge protocols, follow these steps:
How do I transfer protocols to my device?
Protocols are transferred via the PROFILE EDITOR. Once you have your list of protocols in the Profile Editor, click on the “Write” button. A popup window appears, click on the “Write” button again to begin the transfer.
Please note that the protocols on the device will be erased and only the protocols listed in the PROFILE EDITOR will be installed once you start the transfer. If you want to keep those protocols on the device, do a READ first. This will populate the Profile Editor. Add the new protocols, then do a WRITE.
Using your MEND Pro Device (Length: 24:52)
TIMESTAMP
00:05 – Inserting batteries
00:21 – Inserting leadwires
00:36 – Selecting a protocol
00:50 – Starting, pausing, and stopping a protocol
01:10 – Panel description
01:15 – Channel light connection
01:40 – Increase/decrease current intensity
01:50 – Protocols button description (All, Recent, History, and Batch protocols)
02:40 – Accessing the Main Menu
03:05 – Display screen overview
03:35 – Device control area
03:42 – Backlight selection (Continuous On or 10 seconds On)
04:05 – Using the arrow keys
04:10 – Using the Set key
04:20 – Getting to the Settings Menu
04:35 – Changing the audio for Key and Protocol beeping
05:30 – Changing the Output Drive Voltage
06:00 – Checking the Battery Status
06:30 – Jump to a protocol quickly
0: Introduction (Length: 1:09)
1: What is the difference between a protocol and profile? (Length: 2:33)
2: Saving your Preloaded Protocols to Your Computer (Length: 3:56)

3: Creating a Protocol (Length: 4:48)
4: Adding Protocols and Transferring to the MEND Device (Length: 3:35)
5: How do I use batch mode on my Wellness device? (Length: 15:57)
Introducing the new feature “Batch Protocols” which allows to run up to 9 protocols in batch mode or “daisy chain”.
– Go to the Main Menu or use the “Protocols” key to switch to the Batch Protocols screen.
– Press the Right Arrow to browse and select a protocol from All Protocols.
– Press the “Start” key or “Pause” key to add the protocol to the batch list.
To Remove a Protocol from the Batch List
– Press the “Stop” key for 3 seconds to remove the protocol from the batch.
To Begin Treatment with the Batch List
– Move the cursor to the row you want to begin with. Press the “Start” key to run the protocol in the batch list. Protocols will be started from the current position and run in sequence to the end of the batch list.
6: Printing the Summary Sheet and Frequencies (Length: 1:21)